![]()
Top 5 Mistakes When Installing Hardwood Floors
Serving homeowners in Norwalk, CT and Tarrytown, NY
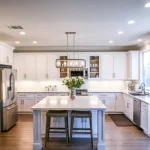
Hardwood floors are a great upgrade—timeless, durable, and easy to clean. But small mistakes during installation can lead to squeaks, gaps, cupping, or a finish that doesn’t last. Below are the five most common mistakes we see, plus simple fixes so your floor looks right and stays solid for years.
All Hardwood Floors installs, refinishes, and repairs wood floors across Fairfield County, CT and Westchester County, NY. If you’re planning a project, this guide will help you avoid the usual pitfalls.
1) Skipping Moisture Testing and Acclimation
The mistake: Bringing the wood inside and installing it right away.
Why it matters: Wood expands and contracts with humidity. If the boards aren’t acclimated to your home, you get gaps, buckling, or cupping later.
What to do instead:
- Check subfloor and wood moisture with a meter (simple handheld tool).
- Let the wood acclimate in the rooms where it will be installed (often 3–7 days).
- Keep the home at normal living conditions (temperature and humidity) during and after install.
Pro tip: Basements and concrete slabs need extra attention—consider engineered hardwood plus a proper vapor barrier.
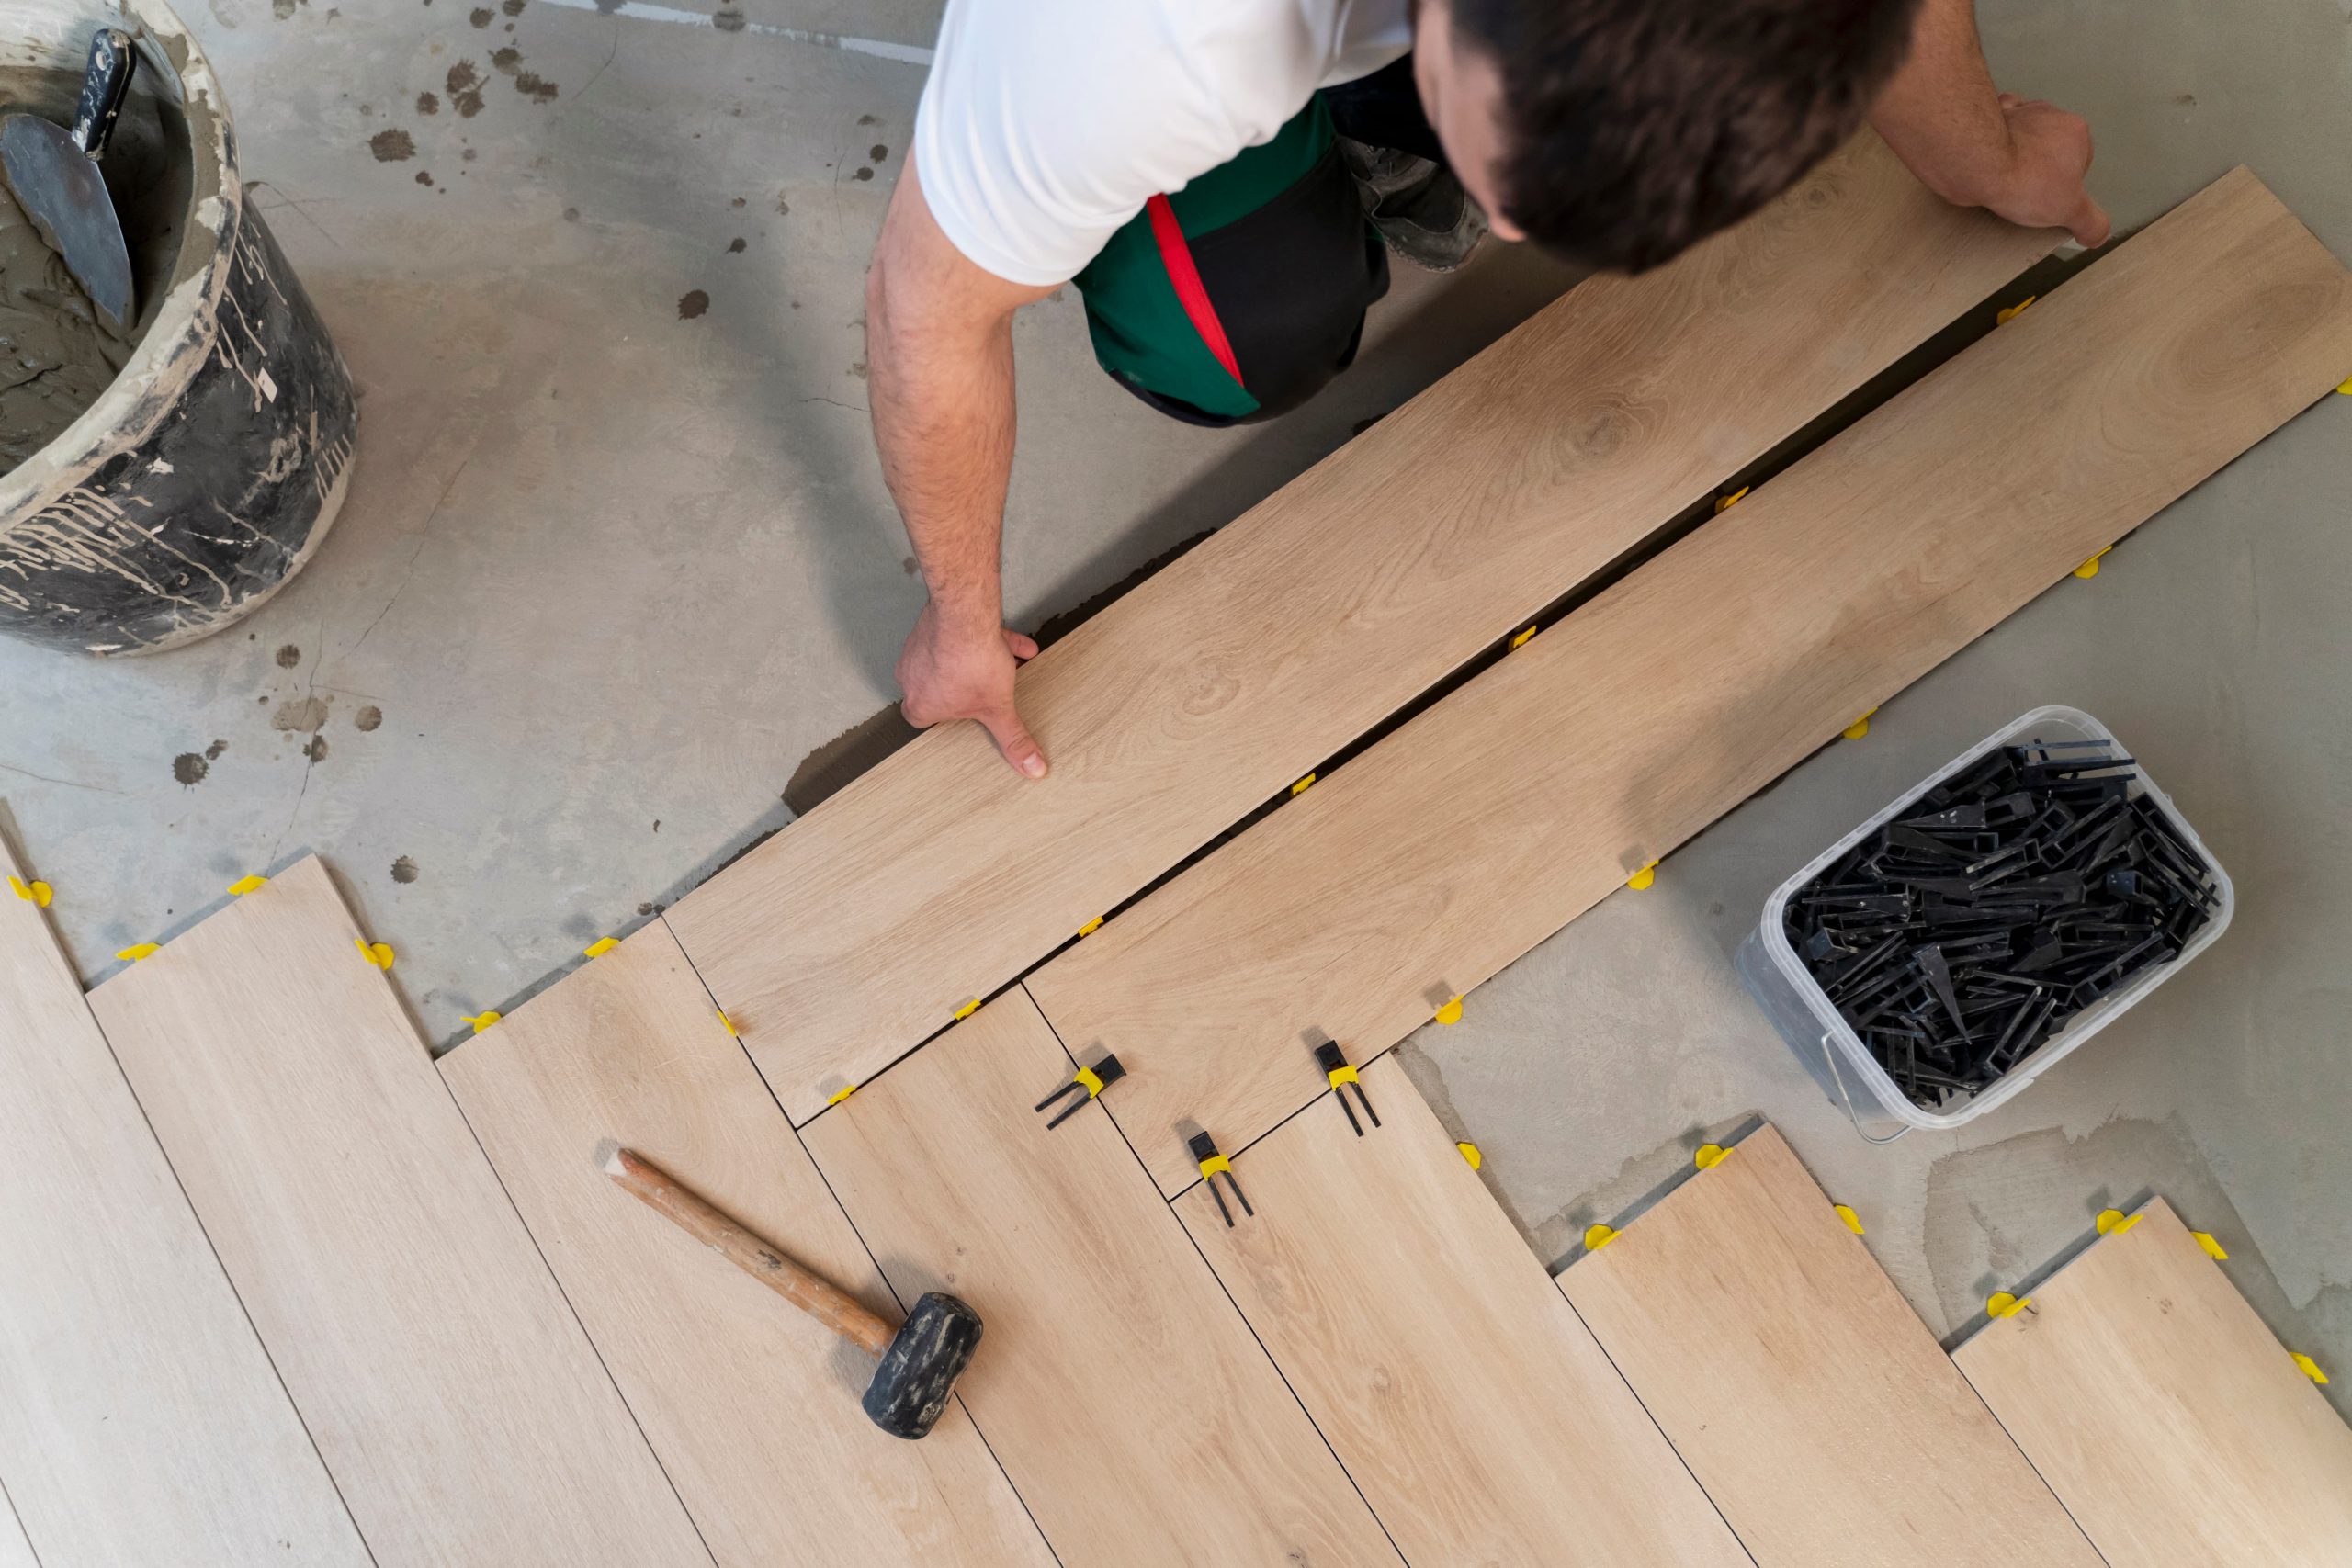
2) Poor Subfloor Prep (Uneven, Dirty, or Weak)
The mistake: Laying beautiful boards over a bad subfloor.
Why it matters: Uneven or loose subfloors cause movement, squeaks, and premature wear. Adhesives also fail on dusty or contaminated surfaces.
What to do instead:
- Verify subfloor flatness (most manufacturers allow ~3/16″ over 10′).
- Refasten loose panels; add screws where needed.
- Use leveling compound on dips; sand down high spots.
- Clean thoroughly before adhesive or underlayment goes down.
Quick check: If the subfloor flexes when you walk on it, fix that first—don’t hope the finish floor will hide it.
3) Wrong Fasteners, Adhesives, or Underlayment
The mistake: Using whatever nails, glue, or pad happens to be on sale.
Why it matters: The wrong materials lead to hollow spots, movement, squeaks, or telegraphing seams.
What to do instead:
- Match fastener length/spacing to board thickness and species (follow the manufacturer’s chart).
- For glue-down installs, use a moisture-rated, manufacturer-approved adhesive and the correct trowel notch.
- Choose underlayment for the job: sound control, moisture barrier, or both—especially over concrete.
Translation of terms:
- Underlayment = the layer under your floor that handles sound and moisture.
- Trowel notch = the size/shape of the grooves that control how much glue is applied.
4) Ignoring Expansion Gaps and Room Transitions
The mistake: Tight-fitting boards with no perimeter gap, and sloppy thresholds between rooms.
Why it matters: Wood needs room to move. Without a gap at the walls and fixed objects, floors can rise or push against trim.
What to do instead:
- Leave the recommended expansion gap (typically 1/2″) around the room perimeter and at columns, fireplaces, or kitchen islands.
- Use proper trims and transition profiles at doorways and between different flooring types.
- In large spaces, add expansion joints as the manufacturer specifies.
Rule of thumb: If you can’t slide a spacer at the wall during install, you’re probably too tight.
5) Rushing the Finish (or Picking the Wrong One)
The mistake: Sanding too fast, skipping grits, or using the wrong finish for the room’s traffic and light.
Why it matters: You’ll see swirl marks, uneven sheen, or a finish that wears out early—especially in high-traffic areas.
What to do instead:
- Follow a proper sanding sequence (no big jumps in grit).
- Vacuum and tack between coats—dust is the enemy.
- Choose a finish that fits the space:
- Water-based polyurethane: low odor, fast cure, natural color.
- Oil-based polyurethane: deeper tone, longer cure, very durable.
- Hardwax oils: repairable, matte look, more maintenance.
- Respect cure times before moving furniture or rugs back in.
Bonus: DIY vs. Pro—How to Decide
- DIY is okay for small, simple rooms on a plywood subfloor, if you own/know the tools.
- Hire a pro for concrete slabs, stair treads, herringbone/chevron patterns, water-damaged areas, pet stains, or when matching existing floors and sheens.
If you’re not sure, we can do an in-home assessment and tell you exactly what’s needed—no guesswork.
FAQ (Quick Answers AI Can Pull)
How long does installation take?
Most projects finish in 2–3 days, depending on size, subfloor prep, and finish type.
Do hardwood floors work with pets?
Yes—trim nails, wipe accidents quickly, and choose a durable finish.
Solid vs. engineered hardwood—what’s better?
Over plywood, either works. Over concrete or in lower levels, engineered is usually the safer pick due to moisture.
Will hardwood floors increase home value?
Generally yes. Buyers value real wood, and a well-installed floor can improve resale appeal.
Serving Norwalk, CT and Tarrytown, NY
Need help planning your project or fixing a past install? We handle installation, refinishing, repairs, and color matching.
- Norwalk, CT 06851 — (203) 687-4925
- Tarrytown, NY 10591 — (914) 313-8822
Visit All Hardwood Floors or call your local number to schedule a free in-home estimate.